iOS Screen Recording Updates: Everything Apple Changed for Users
Screen recording on an iPhone used to be a rudimentary toggle tucked away in Apple’s legacy menus. Over recent updates, the tool evolved into a sophisticated media utility woven directly into the Dynamic Island, the Action Button, and the redesigned modular Control Center. Whether saving a fleeting software bug, capturing high-frame-rate gameplay, or recording instructional guides, navigating these expanded capture settings requires knowing exactly where Apple moved the switches.
Recent reporting highlights just how central audio routing has become to this workflow. As detailed in The Mac Observer Report, users frequently encounter friction when trying to capture two-way conversations and third-party call feeds, spurring demand for clear walkthroughs on modern system audio controls and permission safeguards.
📌 Key Takeaways:
- Control Setup: Screen recording now lives within Apple’s modernized Control Center and can be pinned as a lock-screen widget or assigned to the physical Action Button.
- Audio Isolation: Capturing internal system sound versus room audio depends entirely on the hidden microphone audio toggle accessible via a long press.
- Platform Restrictions: Native apps like FaceTime, Phone, and banking portals deliberately suppress two-way audio streams due to privacy architecture and wiretapping compliance laws.
Setting Up Control Center and the Modern Recording Shortcut
Capturing your screen begins with adding the recording tile to your active interface. Modern iOS releases replaced static layout grids with customizable controls, allowing you to resize, reposition, and group system utilities across multiple Control Center pages.
To configure your capture setup:
- Open Settings and tap Control Center.
- Scroll down to find Screen Recording. Tap the green Add (+) icon if it is not already in your active list.
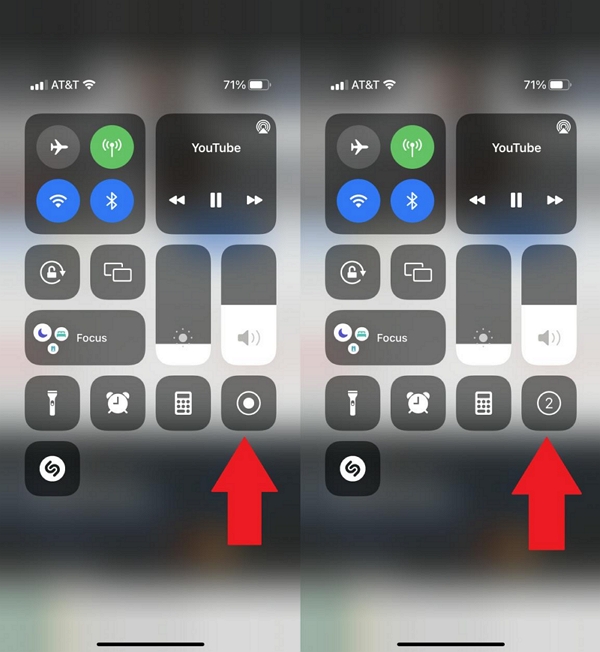
- Swipe down from the top-right corner of your screen (or swipe up from the bottom on older Touch ID devices) to verify the double-circle icon appears.
Power users on supported hardware can bypass the swipe gesture entirely. By binding an iOS screen recording shortcut to the Action Button via Settings > Action Button > Shortcut, you can launch a countdown with a single press. Locking controls onto the redesigned Lock Screen provides identical one-touch access without unlocking into the home screen first.
Unlocking Internal System Sound and the Microphone Audio Toggle
Tapping the Screen Recording icon triggers a three-second countdown before recording everything displayed on your glass. By default, iOS captures internal system sound, in-game audio, software clicks, and app notifications, while keeping external microphones muted. This default setting frequently puzzles users who expect their voice to be recorded alongside the video.
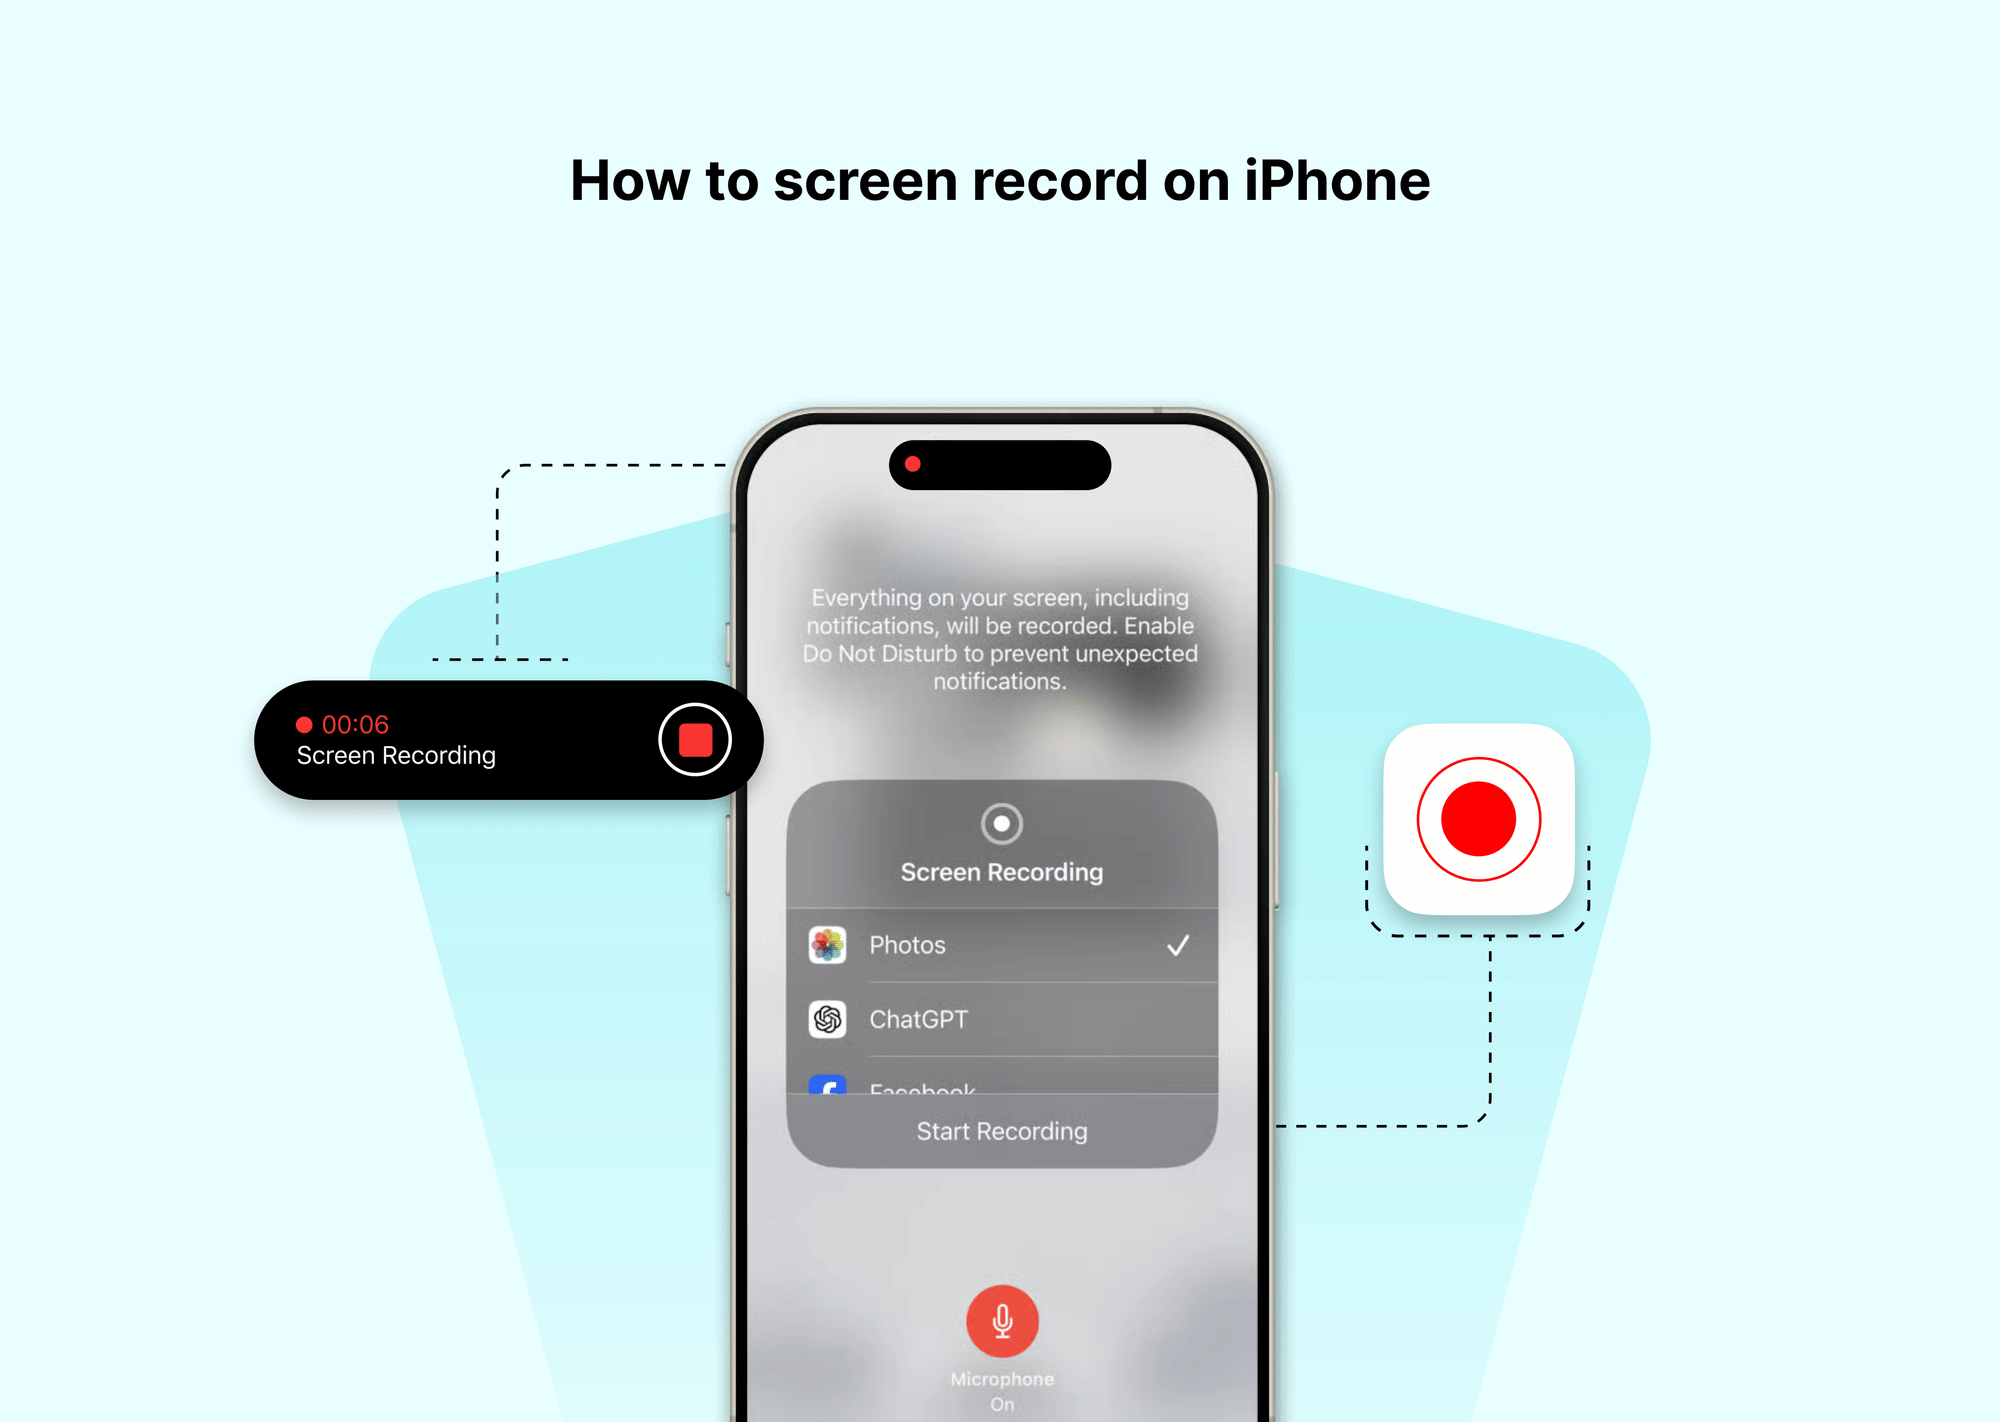
To narrate a walkthrough or include room sound, you must access the Haptic Touch recorder menu. Press and hold the recording icon in the Control Center instead of tapping it lightly. A pop-up menu appears, displaying your destination target (typically the Photos app) and a circular microphone audio toggle at the bottom. Tap the microphone icon so it turns red and reads "Microphone On."
This persistent toggle remains active for subsequent sessions until manually switched off. If you frequently switch between quiet gameplay capture and narrated video tutorials, check this status badge before hitting record to avoid ruined takes.
Dynamic Island Integration Versus the Classic Red Status Bar Indicator
Older iOS releases relied on an intrusive red status bar indicator across the top of the display, stretching the clock bubble and disrupting horizontal app layouts. On devices equipped with the Dynamic Island, Apple moved recording telemetry into the pill-shaped hardware cutout.
Once the three-second countdown finishes, a miniature red circle pulses inside the Dynamic Island. This indicator confirms active capture without overlaying visible digital artifacts onto your final video. Tapping the Dynamic Island reveals an expanded pill showing elapsed recording time alongside a prominent stop button. Devices without the island retain a compact red bubble around the system clock; tapping that bubble prompts an immediate confirmation dialog to finish the capture.
Evolution of iOS Screen Capture: 2020 to 2026
Apple’s capture architecture shifted from a simple screenshot companion into an API-hardened media subsystem. The timeline below highlights how the interface, audio pipelines, and regulatory restrictions transformed across recent hardware generations.
| iOS Generation | Interface & Hardware Trigger | Audio Routing & Safeguards |
|---|---|---|
| iOS 14, iOS 15 | Static Control Center grid; red status bar strip across the notch. | Basic microphone toggle; system audio muted automatically by copyrighted streaming apps. |
| iOS 16, iOS 17 | Dynamic Island status indicators; Action Button shortcut support on Pro hardware. | Automated call-recording silence rules; strict sandboxing of VoIP audio feeds. |
| iOS 18, iOS 26 | Fully modular Control Center layouts; Lock Screen widget triggers; hardware Action shortcuts across base models. | Explicit two-way consent notifications; dedicated system call recording tools separated from screen capture. |
The FaceTime Screen Recording Hurdle: Legal Rules and Audio Workarounds
One of the most persistent complaints among iPhone owners is attempting to record FaceTime calls only to discover that the resulting file contains dead silence. When you start screen recording during an active FaceTime conversation, the video stream records normally, but iOS immediately mutes the incoming audio track.
This behavior is intentional. Apple’s audio architecture isolates voice-over-IP (VoIP) channels from the generic screen recording buffer. Wiretapping statutes and two-party consent mandates across multiple jurisdictions prohibit surreptitious audio logging without explicit audible warnings. While Apple introduced transparent call-recording options for standard cellular conversations, which chime to notify both callers that recording has begun, the screen recorder does not have permission to capture the other caller’s voice.
Enabling the microphone via the Haptic Touch menu captures only your own voice picked up by the iPhone's bottom mic. To record both sides of a FaceTime session for legitimate archival purposes or podcast production, creators route the iPhone video through a Mac via QuickTime Player or capture card software, running external desktop audio splitters that record system-out audio safely.
Troubleshooting Silent Clips and Photos App Export Failures
When a screen capture goes wrong, it usually manifests in two ways: completely silent video output or an export error that prevents the file from saving.
If you need an immediate screen recording no sound fix, check these core failure points:
- Content Rights Management (DRM): Apps like Netflix, Disney+, Apple TV, and certain banking portals trigger fair-play encryption flags. If you record these apps, the video output will either display black frames or cut audio entirely to prevent digital piracy.
- Silent Mode Interference: Some third-party game engines route their audio engines through the iPhone's ringer switch. Flick the physical Silent switch off or toggle Focus modes to confirm internal game sounds are outputting.
- Bluetooth Audio Traps: Connected AirPods or car stereos reroute internal system sound away from the operating system's internal recorder. Disconnect external Bluetooth audio gear before capturing complex software demos.
Large screen recordings can also fail during Photos app export. If local device storage drops below 2 GB to 3 GB, iOS cannot assemble the temporary cache files into an H.264 or HEVC MP4 wrapper. The Dynamic Island will pulse indefinitely or display a red exclamation mark warning that the file could not be written. Always audit local storage under Settings > General > iPhone Storage before initiating recording sessions longer than 15 minutes.
Frequently Asked Questions (FAQ)
Q1: Why is my iPhone screen recording missing game sound when my microphone is turned on?
A1: When the microphone audio toggle is switched on, iOS attempts to balance room noise reduction with game audio. If the game engine uses aggressive audio compression or Bluetooth headphones are connected, internal sound may drop out. Turn off the microphone toggle if you only need clear game audio.
Q2: Where are my finished screen recordings saved, and how do I trim them?
A2: All screen recordings save directly to the Photos app under the Screen Recordings media album. Open the video, tap Edit in the upper right corner, and drag the yellow timeline handles at the bottom to trim countdown screens or dead space at the end.
Q3: Does screen recording use more battery or heat up the iPhone during intensive tasks?
A3: Yes. Real-time display encoding at native resolutions (up to 120Hz ProMotion) puts noticeable demand on the GPU and thermal envelope. Recording high-fidelity 3D games for extended periods will throttle brightness and increase battery drain significantly compared to standard use.
Mastering the Screen Recording Workflow in Modern iOS
Screen recording on modern iPhones provides exceptional fidelity once you understand how Apple separates hardware triggers from audio permissions. By personalizing the Control Center with custom sizing, binding quick actions to the physical hardware, and manually checking microphone states, you can capture dependable, crystal-clear footage on the first take.
Keep local storage clear and recognize where iOS privacy protections draw the line on encrypted communications. With those fundamentals established, you can capture system bugs, create training materials, and archive mobile content smoothly without lost audio or ruined takes.