Lines on Your MacBook Screen? Why It Might Cost Less to Fix Than You Think
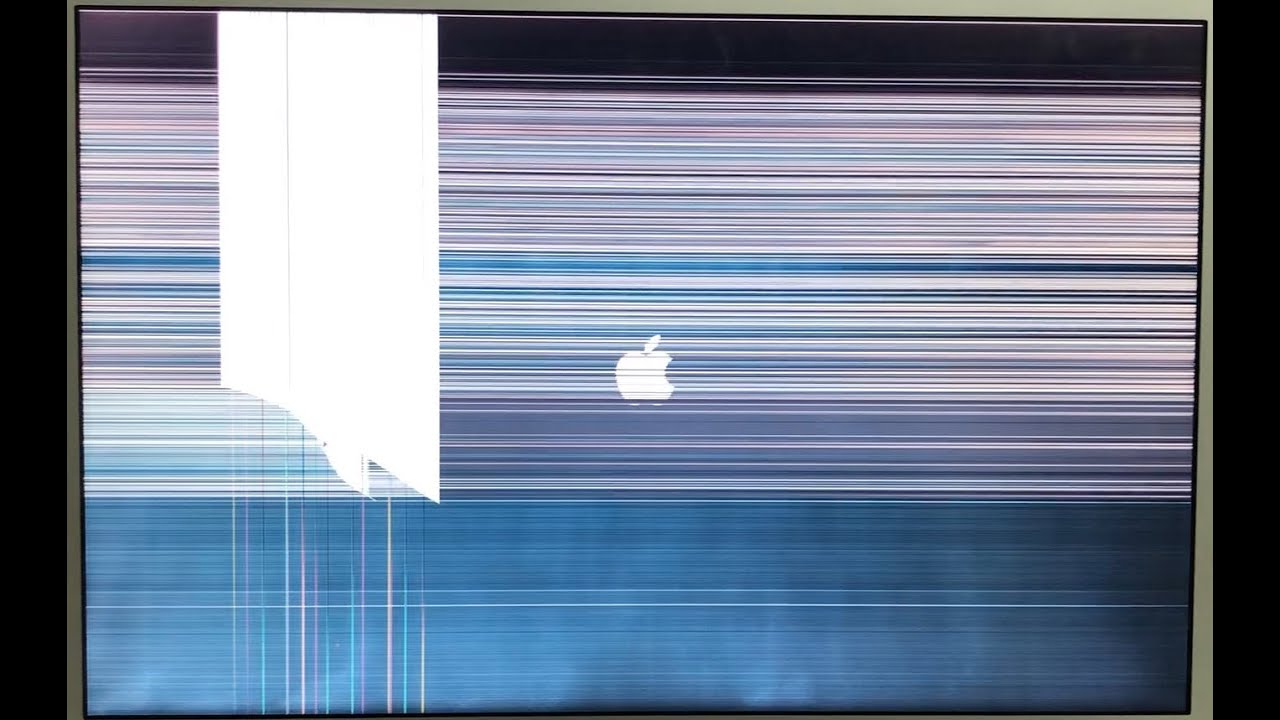
You open your MacBook lid and find a razor-thin magenta streak cutting through your menu bar. Within hours, that single defect can multiply into dense horizontal bands or flashing vertical colored lines that obscure your entire workspace. The immediate reaction is usually financial dread, as an out-of-warranty screen replacement quote from an Apple Authorized Service Provider routinely ranges between $600 and $990 for Liquid Retina displays. Yet, as detailed in an investigative AppleMagazine Report on diagnosing panel trauma, a cracked substrate is not always the culprit behind sudden display corruption.
Hardware failures inside modern Apple Silicon and legacy Intel machines present identical visual symptoms across fundamentally different components. A display flex cable failure produces the exact same vertical distortion as a fractured glass trace, but the actual repair paths sit worlds apart in complexity and cost. Independent micro-soldering labs and component-level technicians have developed targeted interventions that bypass Apple’s modular swap policy entirely, saving owners hundreds of dollars when the LCD panel itself remains intact.
📌 Key Takeaways:
- The Diagnostic Line: Connecting an external monitor instantly isolates whether display corruption stems from a fried GPU, a macOS firmware glitch, or the physical display assembly.
- Cable Versus Glass: Over 40% of hinge-related line defects trace back to worn trace cables rather than cracked glass substrates, making specialized flex splicing a fraction of the cost of full panel replacement.
- Authorized Limits: Apple Authorized Service Providers only swap entire display clamshells, whereas independent board repair specialists can replace damaged T-CON boards and flex assemblies individually.
What Triggers Sudden Horizontal and Vertical Display Lines
Modern MacBook screens rely on a dense sandwich of glass, polarizing films, liquid crystal fluid, and delicate copper trace cables routed tightly through the hinge clutch. Vertical colored lines usually point to an interruption in the column drivers along the bottom of the LCD panel. When dust, microscopic grit, or thermal expansion strains these connections, the signal line drops, and the default voltage pulls the corresponding pixels into solid bars of neon green, pink, or white.
Horizontal lines on screen tell a different technical story. These artifacts generally stem from gate driver timing errors or power distribution faults inside the timing controller (T-CON) board tucked beneath the display hinge. If a ceramic capacitor shorts out or moisture causes corrosion along the display’s bottom edge, row signals begin to desynchronize, causing horizontal black bars, ghosting, or image stuttering across the refresh cycle.
Thermal fatigue plays an equally destructive role. Apple Silicon designs run remarkably cool under casual workloads, but sustained rendering or gaming pushes internal chassis temperatures past 85°C. Over two to four years, repeated heating and cooling cycles degrade the anisotropic conductive film (ACF) bonding that welds the display flex ribbon directly to the glass substrate. When that adhesive weakens, signal resistance spikes, introducing lines that flicker based on internal chassis heat.
The External Monitor Test and Initial Diagnostics
Before agreeing to an expensive repair estimate, isolate the failure path using basic software and hardware diagnostics. Plug your MacBook into an external monitor or television via USB-C or HDMI. If the secondary screen mirrors the exact same vertical streaks or visual noise, the physical display panel is entirely innocent. That outcome signals system-level GPU artifacting or corrupted display buffer memory, which occasionally resolves after an operating system reinstall or firmware recovery.
On older Intel MacBooks, performing an NVRAM reset clears cached display timing tables and resolution handshake profiles that can freeze the screen output in garbled states. While Apple Silicon models handle NVRAM resets automatically on restart, running Apple Diagnostics (holding the Power button from a cold shutdown until startup options appear, then pressing Command-D) checks for internal sensor and GPU anomalies. If the external display image looks crystal clear while the laptop screen remains distorted, the problem is definitively isolated between the motherboard’s eDP connector, the hinge ribbon, and the LCD glass.
Test the display’s physical range of motion next. Slowly tilt the screen back and forth between a 45-degree angle and a wide 130-degree tilt while watching the lines. If the streaks disappear, shift color, or turn into solid black bars at specific angles, your panel glass is intact. You are looking at a classic display flex cable failure, a fatigue-related wear pattern that independent shops can service without discarding your original factory panel.
Comparing Diagnostic Scenarios and Real-World Repair Paths
The repair market presents stark price differences depending on whether you take an affected machine to an authorized corporate channel or an independent micro-soldering facility. The table below outlines common display line patterns, their technical causes, and current market pricing models.
| Visual Symptom | Underlying Root Cause | Apple Official Cost (No AppleCare) | Independent Shop Cost |
|---|---|---|---|
| Angle-dependent flickering or lines | Flexgate / Hinge cable trace wear | $580, $850 (Full display swap) | $150, $240 (Micro-soldered trace splice) |
| Persistent vertical colored lines | De-bonded ACF ribbon / Gate driver fail | $650, $990 (Full display swap) | $220, $350 (Panel or ACF re-bonding) |
| Geometric patterns across all screens | GPU artifacting / SoC RAM fault | $500, $750 (Tier 4 logic board) | $200, $380 (Board component rework) |
| Horizontal lines with dark water blooms | Liquid damage MacBook screen / Corrosion | $750, $1,100 (Other damage fee) | $280, $420 (Ultrasonic clean & LCD swap) |

How Hinge Cable Wear Triggers False Panel Failures
When the original Flexgate controversy surfaced on 2016 through 2018 MacBook Pro models, Apple recognized that thin, flexible display cables wrapped around the hinge mechanism were wearing out prematurely from standard open-and-shut cycles. Apple lengthened the cables by roughly two millimeters in subsequent revisions, which alleviated immediate cable snapping. However, the foundational design constraint remains: flexible printed circuit (FPC) cables are still forced through a tight mechanical hinge.
In modern 14-inch and 16-inch chassis, dust and pocket debris collect inside the hinge cavity beneath the plastic clutch cover. As the screen opens, trapped grit presses into the moving ribbon cable. Over thousands of actuations, this debris creates microscopic pinholes and tears through the data lines that supply row and column voltages. The result looks identical to a shattered display: vertical colored lines running from top to bottom.
Because an Apple Authorized Service Provider does not perform component-level cable micro-soldering, their technicians are required by corporate policy to replace the entire aluminum display housing. Independent technicians, by contrast, expose the flex cable, bridge the fractured copper traces under a microscope using jumper wire, and encase the repair in ultraviolet-cured solder mask. This approach leaves the original True Tone sensor, ambient light sensor, and factory-calibrated Liquid Retina panel fully intact.
Pressure Damage, Liquid Ingress, and Substrate Cracks
Not every case of display lines stems from a repairable cable. Modern MacBooks feature remarkably tight tolerances between the display glass and the anodized top case when closed. A webcam cover, a plastic keyboard protector, or even a single stray grain of sand can generate crushing force against the inner glass substrate when the lid shuts. This condition, frequently verified using a pressure damage screen test under direct raking light, leaves the outer protective glass smooth while fracturing the inner liquid crystal layer.
If you see a dark ink-like spot radiating outward into fine vertical or horizontal streaks, the internal glass substrate has cracked. No software calibration or micro-soldering can repair ruptured liquid crystal pockets. Liquid damage MacBook screen situations follow a similarly destructive path: moisture seeping into the display chin corrodes the high-voltage backlight power rails, triggering persistent horizontal lines alongside localized backlight brownouts.
When inner substrate destruction occurs, your options narrow to physical component replacement. Even here, third-party repair networks offer a distinct financial advantage. Rather than paying the full MacBook LCD replacement cost for a brand-new aluminum clamshell assembly through first-party channels, reputable independent shops frequently source grade-A pulled panels from recycled chassis, reducing total out-of-pocket expenses by roughly 40% to 60%.
Evaluating Your Repair Options and Avoiding Waste
If your machine is actively covered by AppleCare+, use it. A broken panel from accidental damage incurs a modest $99 service fee under AppleCare+, making authorized repair the fastest, lowest-risk choice. First-party service ensures factory color profiling, functioning True Tone sensors, and zero system calibration warnings in macOS settings.
Without warranty protection, your decision turns on machine age and the exact source of failure. Spending $850 to put a new screen on a baseline M1 or M2 MacBook makes questionable financial sense when that same capital buys a refurbished machine with newer silicon. If the lines fluctuate with hinge movement, seek out an independent board repair technician who specializes in trace splicing and display flex repairs before committing to an entire assembly replacement.
Frequently Asked Questions (FAQ)
Q1: Can software updates or macOS bugs cause vertical colored lines?
A1: Rarely. Operating system bugs or driver errors typically cause uniform screen flickering, kernel panics, or application crashes. Thin vertical colored lines that remain fixed on the desktop almost always trace back to physical hardware failure in the display flex cable, the LCD driver circuitry, or the logic board.
Q2: Why does Apple refuse to replace just the cable instead of the whole display?
A2: Apple’s supply chain and retail service operations prioritize repair speed, standardized workflows, and warranty consistency over component-level repairability. Swapping the entire aluminum display clamshell takes a technician 20 minutes with zero micro-soldering required, whereas splicing traces or re-bonding an ACF ribbon demands specialized tools and extensive bench time.
Q3: Will replacing the display outside of Apple break True Tone or brightness features?
A3: On MacBooks produced from 2018 onward, the display serial number is cryptographically paired to the logic board. Replacing the assembly without transferring the original ambient light sensor IC can disable True Tone functionality and dynamic screen calibration unless completed by an Apple Independent Repair Provider using official software tools.
Next Steps for Distorted MacBook Displays
Display lines can seem catastrophic, but visual artifacts do not automatically mean your screen is ruined. Begin by verifying your system output on an external monitor to isolate motherboard GPU issues from physical panel faults. Test the display hinge through its full range of movement to check for flex cable wear, and inspect the screen glass under bright light to verify whether the inner substrate has suffered pressure damage. Knowing the mechanical difference between a cracked display and a worn ribbon cable gives you the leverage to avoid unnecessary assembly swaps and choose the most cost-effective path back to a working machine.


