Why Your Vanilla Cake Is Always Dry: The Secret Ingredient Bakers Swear By
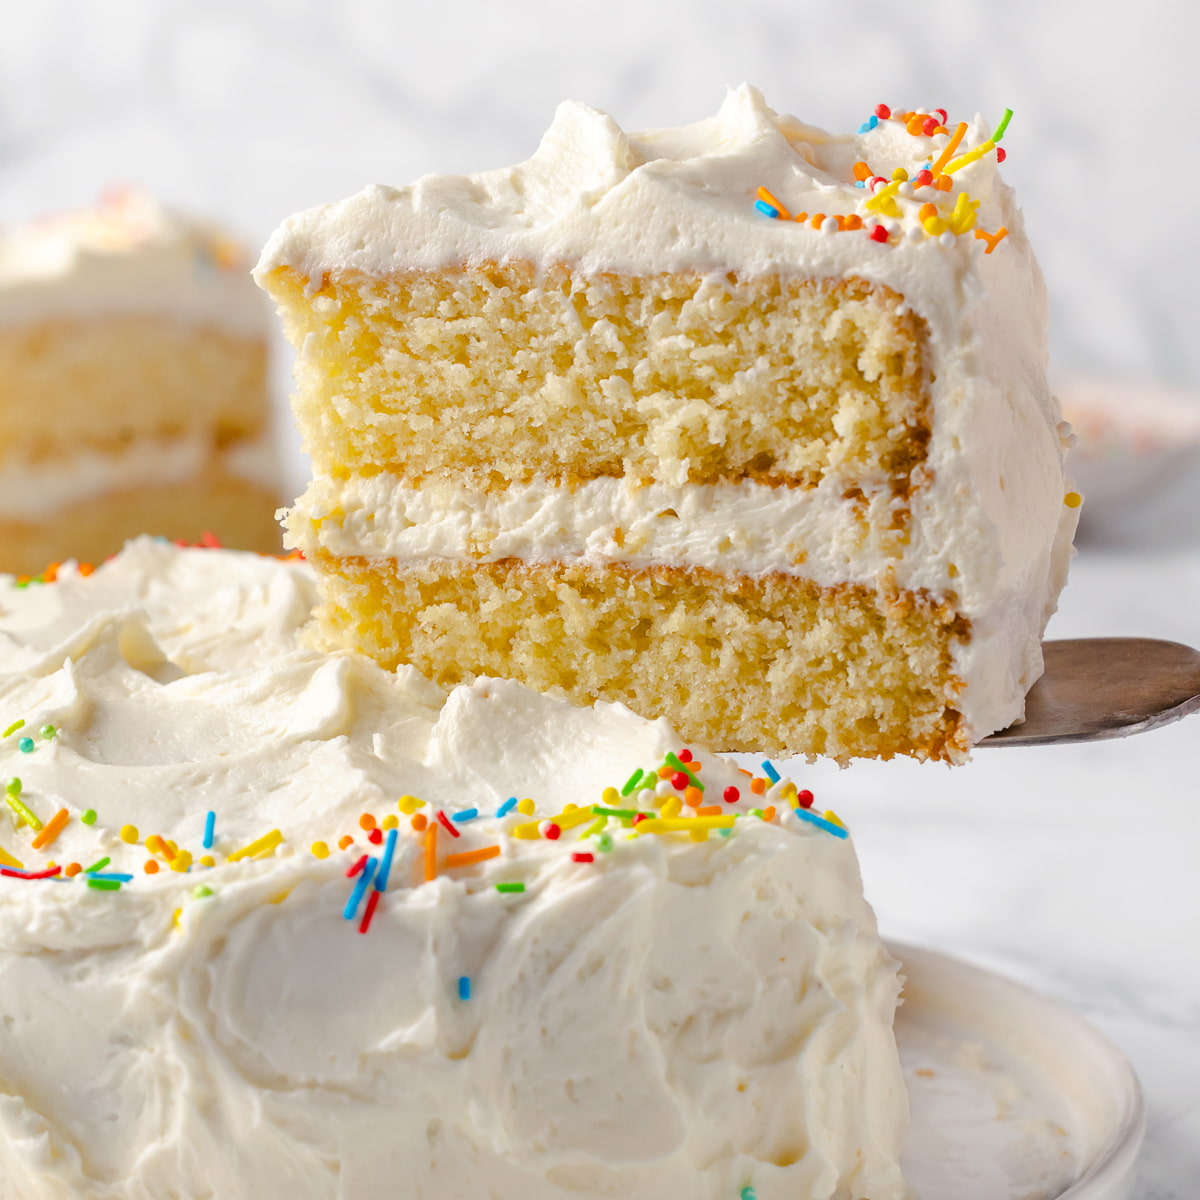
Baking a standout chocolate cake is relatively forgiving. Cocoa powder brings its own natural starch structure, and boiling coffee or oil masks minor kitchen missteps, explaining why viral staples like the New York Times World’s Best Chocolate Cake continually dominate home kitchens. Vanilla cake offers no such safety net. Without heavy spices or dark sugars to hide behind, every flaw in crumb, hydration, and technique sits in plain view. As highlighted in a recent Taste Report tracking a Sicilian lemon cake bookmarked over 12,000 times, home bakers gravitate toward recipes that promise effortless moisture. Yet vanilla remains an elusive benchmark that frequently emerges from the oven resembling a parched, dense sponge.
The difference between a lackluster homemade tier and an impossibly velvety slice from an upscale patisserie rarely comes down to kitchen luck. It traces back to precise fat balancing, calculated gluten control, and one essential dairy staple that professional bakeries rarely omit from their formula sheets.
📌 Key Takeaways:
- The Secret Emulsifier: Full-fat sour cream supplies an optimal combination of 18% to 20% milkfat and mild lactic acid, tenderizing gluten proteins without thinning the batter.
- The Hybrid Fat Equation: Relying exclusively on butter leads to staling; a calculated 70:30 butter-and-oil split secures genuine dairy flavor while locking in ambient hydration for days.
- The Process Correction: Adopting the reverse creaming method coats flour particles in lipids before hydration occurs, effectively neutralizing tough structural development.
The Chemistry of Sour Cream in Cake Batter
Home bakers troubleshooting a dry sponge almost always reach for extra liquid milk or melted butter. That adjustment usually worsens the problem, creating a batter that bakes up rubbery or collapses under its own weight. When commercial bakeries engineer a scratch moist vanilla cake recipe, their primary insurance policy is full-fat sour cream.
Sour cream delivers a precise chemical advantage that standard whole milk cannot match. Composed of roughly 18% to 20% butterfat alongside cultured lactic acid, it introduces substantial moisture without flooding the crumb with excess free water. Water activates flour proteins; fat inhibits them. The natural acidity in sour cream gently breaks down tough protein chains in flour, yielding a velvety, melt-in-your-mouth texture. Because it is naturally thick, it maintains batter viscosity, ensuring that rising air bubbles stay trapped evenly throughout the crumb during the initial oven spring.
If you find your refrigerator bare on baking day, an improvised buttermilk substitute, such as whole milk mixed with fresh lemon juice or white vinegar, offers sufficient acidity, but it lacks the dense lipid cushion sour cream provides. For an authentic bakery texture, pairing whole-milk Greek yogurt with a tablespoon of heavy cream serves as the closest functional replacement.
The Fat Ratio: Why Butter Alone Leaves Vanilla Cake Parched
Butter produces unmistakable flavor. It also crystallizes into a firm solid as soon as a baked layer cools to room temperature. This physical reality explains why standard all-butter cakes taste exceptional when warm, yet turn coarse, crumbly, and dry within 24 hours. Vegetable oils, by contrast, remain 100% liquid at room temperature and refrigeration levels alike, coating the palate with an enduring impression of moisture.
Relying entirely on neutral oil robs vanilla cake of its signature dairy richness, rendering it bland and oily. The solution developed by veteran pastry chefs lies in a hybrid butter and oil ratio. Blending roughly 70% unsalted European-style butter (which averages 82% to 84% butterfat) with 30% neutral expeller-pressed canola or avocado oil captures the best of both worlds. The butter provides depth and aerated lift; the oil guarantees that every forkful stays soft and supple well past day three.
| Fat Source | Lipid Content | Textural Impact | Shelf-Life Performance |
|---|---|---|---|
| 100% All-Butter | ~80%, 82% (16%, 18% water) | Light, fine-crumbed, but firms quickly when chilled | Dries noticeably within 24, 48 hours |
| 100% Vegetable Oil | 100% lipids (0% water) | Supremely moist, but lacks structure and dairy depth | Remains exceptionally soft for 5+ days |
| 70/30 Butter & Oil Hybrid | ~87% effective lipids | Tender, aromatic, silky crumb with stable structure | Maintains bakery-level moisture for 4, 5 days |
| Butter + Sour Cream | High lipid with cultured acid | Substantial, velvety crumb; ideal for stacked layers | Exceptional moisture retention through day 4 |
Cake Flour vs All Purpose and the Mechanics of Mixing
Flour selection establishes the fundamental architecture of your cake. When debating cake flour vs all purpose, the critical distinction centers on protein content. Standard all-purpose flour contains between 10% and 12% protein, designed to provide structure for artisan loaves and chewy cookies. Bleached cake flour sits far lower at 7% to 9% protein. Furthermore, the chlorination process used on cake flour slightly weakens the gluten bonds and allows the starches to absorb liquids and fats more rapidly.
Using all-purpose flour without compensating for its robust protein structure frequently triggers overmixing gluten formation. As the beaters churn, proteins knit into elastic webs that trap steam harshly, resulting in a tough, bread-like texture with wide tunnels.
[ Traditional Creaming ]
Butter + Sugar whipped -> Eggs added -> Flour folded last
Risk: Liquid meets flour during prolonged mixing, accelerating gluten bonds.
[ Reverse Creaming Method ]
Dry Ingredients (Flour, Sugar, Leavening) + Softened Butter / Oil beaten together
Result: Fat coats flour particles first -> Moisture added second -> Gluten locked out.
To sidestep this issue entirely, elite pastry kitchens deploy the reverse creaming method. Instead of whipping softened butter and sugar into a fluffy aerated foam, dry ingredients are blended first, and cubed butter along with oil is cut directly into the flour mixture until the texture resembles fine wet sand. Every grain of flour receives an envelope of fat before any liquid eggs, milk, or sour cream enter the bowl. Because water cannot easily penetrate fat-coated starches, unwanted gluten development drops to near zero.

Ingredient Temperatures and Oven Consistency
Technique counts for little if ingredient temperatures work against your emulsion. Combining chilled eggs or cold milk with creamed fats instantly curdles the batter, breaking the microscopic suspension of water droplets in fat. When broken batter enters the oven, liquid separates and drains to the pan bottom, leaving the top dry and the base rubbery.
Using room temperature ingredients, specifically holding dairy and eggs between 65°F and 68°F (18°C, 20°C), allows the batter to form a smooth, glossy emulsion that traps air cleanly.
Preparation Timeline for Flawless Emulsion:
[-60 Minutes]: Remove eggs, sour cream, and butter from refrigeration.
[-15 Minutes]: Position rack to oven center; insert independent oven thermometer.
[ 0 Minutes ]: Verify batter temperature hits 66°F before loading into 350°F (175°C) oven.
Baking physics requires equal vigilance. Home oven thermostats often drift by 15°F to 30°F over time. An unchecked spike dry-bakes outer edges before the interior sets, while cool pockets force cakes to sit under heat too long, evaporating internal moisture. Maintaining an even baking temperature validated by a hanging interior thermometer prevents the outer crust from over-browning before the delicate center sets.
Maximizing Vanilla Aroma: Extracts Versus Pastes
Vanilla is not an accent in this formula; it is the entire flavor profile. Standard supermarket extracts often feature artificial vanillin diluted in harsh alcohol bases that vaporize rapidly during a 30-minute bake.
Upgrading to pure vanilla bean paste delivers immediate visual and sensory dividends. Made by blending pure vanilla extract with concentrated vanilla bean seeds and natural binders, it withstands thermal evaporation far more effectively. The dark flecks suspended throughout the crumb signal scratch craftsmanship, while the cold-processed bean solids impart nuanced notes of floral cream, wood, and bourbon that persist long after baking. For standard eight-inch rounds, using one tablespoon of pure vanilla bean paste provides depth that standard extract simply cannot deliver.
Constructing the Professional Layer Cake
A masterfully baked sponge can still dry out during decorating if exposed to air. Once cake rounds cool completely, pastry chefs employ two foundational techniques to preserve freshness inside a bakery style layer cake:
[Layer Assembly Protocol]
- Level Rounds -> Remove caramelized domes with a serrated knife.
- Simple Syrup Soak -> Mist 1.5 tbsp light vanilla syrup per 8-inch tier.
- Crumb Coat Technique -> Apply 1/8-inch frosting barrier; chill 20 minutes at 38°F.
- Final Coat -> Finish with silky Swiss meringue or Italian buttercream.
A light simple syrup soak, made from equal parts pure cane sugar and filtered water simmered with vanilla, acts as an internal moisture barrier without making the sponge soggy. Misting the surface using a food-grade spray bottle distributes hydration evenly across the exposed crumb.
Immediately following the soak, sealing the cake using the crumb coat technique locks in every trace of moisture. Spreading an ultra-thin layer of frosting across the top and sides anchors wandering crumbs and forms an airtight sheath, keeping the sponge remarkably tender while the decorative outer buttercream is prepared.
Frequently Asked Questions (FAQ)
Q1: Can I make this cake without sour cream if someone has a dairy allergy?
A1: Yes. Substitute an equal weight of unsweetened full-fat coconut yogurt or dairy-free sour cream containing at least 15% vegetable fat. Avoid thin almond or oat milks, as their high water content promotes excess gluten formation and creates a rubbery crumb.
Q2: Why does my vanilla cake sink in the center despite using fresh baking powder?
A2: Sinking usually stems from two issues: opening the oven door during the first 20 minutes of baking, which collapses fragile air pockets, or over-aerating the batter during the creaming stage. The reverse creaming method largely eliminates over-aeration by generating tighter, more uniform air bubbles.
Q3: How far in advance can I bake the sponge rounds before party assembly?
A3: Baked layers can be wrapped tightly in plastic wrap while slightly warm and frozen for up to 30 days. The trapped residual steam condenses inside the plastic wrap, making thawed layers noticeably moister than freshly baked counterparts.
Precision Baking in the Modern Kitchen
Baking excellence rarely requires exotic equipment or culinary school credentials. It demands an appreciation for kitchen chemistry and a willingness to abandon habits that compromise structural moisture.
By replacing thin milk with rich cultured sour cream, blending butter's flavor with oil's endurance, and shielding starches through reverse creaming, home bakers can consistently bypass the dreaded dry sponge. The resulting cake delivers a pristine, pillowy bite that stands proudly alongside the finest bakery displays.


